When it comes to residential remodeling, few projects are as comprehensive and transformative as a gut renovation. This type of project involves stripping a property down to its bare bones and rebuilding it from the inside out. Whether you’re looking to modernize an old home or completely change its layout, understanding the phases of gut renovation is crucial for a successful outcome. In this blog post, we’ll explore each phase in detail to help you navigate your next big residential remodeling project.
Phase 1: Planning and Design
Initial Assessment
Before any physical work begins, a thorough assessment of the property is essential. This includes evaluating the structural integrity, electrical systems, plumbing, and overall layout. Hiring a professional inspector can provide valuable insights into what needs immediate attention and what can be improved.
Budgeting
Creating a detailed budget is crucial in this phase. Consider all aspects such as labor costs, materials, permits, and unexpected expenses. It’s advisable to allocate an additional 10-20% of your budget for contingencies.
Design
Work with an architect or designer to create a comprehensive plan that aligns with your vision. This includes floor plans, elevations, and 3D renderings if possible. The design phase should also involve selecting materials and finishes that fit both your aesthetic preferences and budget. As a client of Reimagine Renovation, you will be working with our dedicated team of professionals from start to finish. From the design stage to the implementation of the project, our staff will be available to you for any question or concern.
Phase 2: Permits and Approvals
Permit Application
Once you have a solid plan in place, the next step is obtaining the necessary permits from local authorities. This may include building permits, electrical permits, plumbing permits, and more depending on your location. We take care of all of that for you!
Approval Process
The approval process can take anywhere from a few weeks to several months. During this time, it’s essential to stay in close contact with local authorities to ensure everything is moving smoothly.
Phase 3: Demolition
Preparing for Demolition
Before demolition begins, make sure all utilities (water, gas, electricity) are turned off. Protect areas that won’t be affected by the renovation by sealing them off with plastic sheeting or other protective measures. Don’t worry, we do all of this for you!
Demolition Work
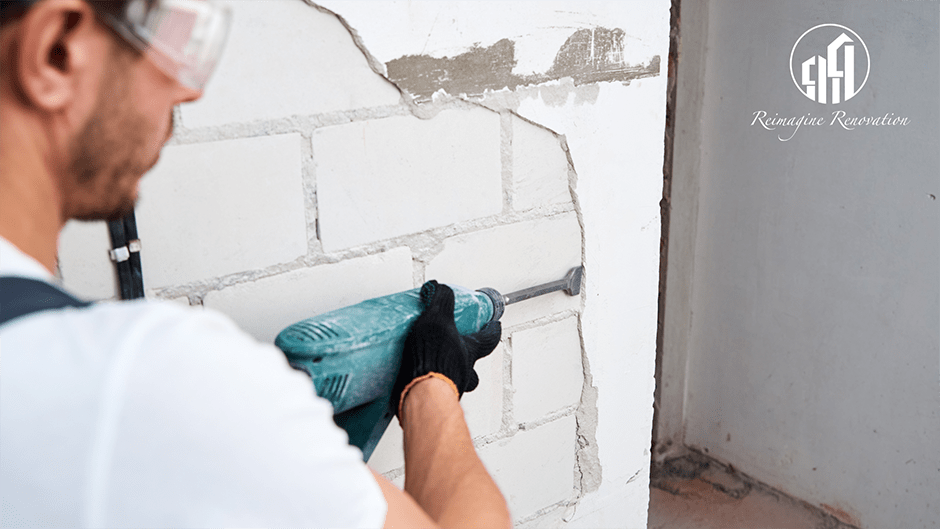
This phase involves tearing down walls, removing old fixtures like cabinets and flooring, and stripping away any outdated electrical or plumbing systems. It’s messy work but necessary for laying the groundwork for your new space.
Phase 4: Structural Work
Framing
Once demolition is complete, framing new walls or altering existing ones will shape the new layout of your home. This includes adding any new rooms or expanding existing ones.
Electrical & Plumbing Rough-In
With the framing in place, electricians and plumbers can begin their rough-in work. This involves installing new wiring for outlets and lighting fixtures as well as laying down pipes for sinks, showers, toilets, etc.
HVAC Installation
If you’re updating or installing new heating and cooling systems (HVAC), this is also done during this phase.
Phase 5: Insulation & Drywall
Insulation
Proper insulation is key for energy efficiency and comfort in your home. Depending on your climate zone and budget considerations you might choose between fiberglass batts or spray foam insulation among other options. After insulating the walls comes drywall installation, which gives the structure its finished look before painting starts during the finishing stages
Phase 6: Flooring & Cabinetry
Flooring Installation
Whether you opt for hardwood floors, carpeting, or tiles, each type has specific installation requirements so ensure professionals handle these tasks accurately. We are very familiar with all types of flooring!
Cabinetry
Kitchen bathroom cabinetry gets installed following the flooring completion. It’s important to make sure everything fits perfectly within designated spaces.
Phase 7: Finishing Touches
Painting
Walls, ceilings, doors, and trims receive fresh coats of paint bringing life into the newly renovated space.
Fixtures & Appliances
Lighting fixtures, faucets, and appliances get installed finalizing the functional aspects of the rooms.
Gut renovations are extensive projects that demand meticulous planning and execution across multiple phases. From the initial assessment, budgeting, and design, to obtaining permits and approvals, followed by demolition, structural work, insulation, drywall, flooring, cabinetry, and finally, the finishing touches—every step plays a critical role in achieving the desired outcome of a residential remodeling project. By understanding these phases, homeowners are better prepared to tackle challenges and ensure the successful transformation of their homes.
At Reimagine Renovation, we pride ourselves on our flexibility and adaptability – and that includes the various options we offer to our customers. We offer services for a range of budgets, so whatever you need, we can find a way to help. You will be working with our dedicated team of professionals from start to finish. From the design stage to the project’s implementation, our staff will be available to you for any question or concern.

